
TOOLS AND SPARE PARTS TO CARRY ON THE BIKE
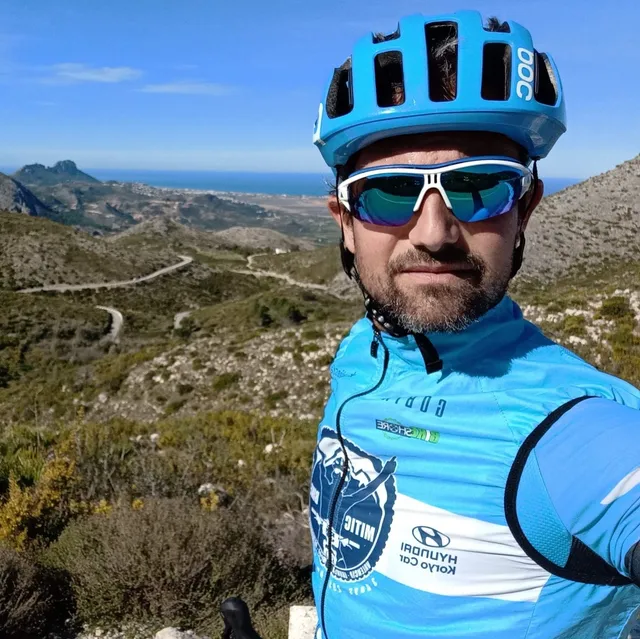
By Samuel • Pata Negra Adventure
Many of us are users of this fantastic means of transportation, training or simply leisure. But many times the outing is truncated by not carrying spare parts or necessary tools. And then comes the phone call dreaded by many. I have seen people shivering (and not from the cold) when dialing the number on the phone calling their partner to come and pick them up because they have been “stranded”.
To avoid this, it is enough to stock up on three or four basic things to make sure we can ride back home, or at least to the next town to get to a bike store or workshop or a bar where we can be warmer while waiting.

1. Flat Tires: Spare inner tube and air pump
Punctures are the most common problem. To make sure it’s just a minor setback, don’t forget to bring a spare inner tube. When I’m riding on the road—since I don’t use tubeless tires—I always carry two, because if I get a flat, I’ll be stressed the whole way knowing I don’t have any more spares.
Of course, an air pump (or, failing that, a CO2 cartridge) is also essential. These days, there are very efficient, compact models available, so it’s worth always carrying one on your bike—securely attached next to the bottle cage or inside the saddle bag. Because if you’re the type who rides every day and carries it in your Mayotte pocket, Murphy will be waiting for the day you forget it so he can put a little thorn in the road you’re riding on.
2. Tubeless System and Patch Kit
If your mountain bike has tubeless tires (the tires don’t have an inner tube but instead contain a liquid inside the tire that seals all the pores and small punctures) and it still hasn’t sealed because the hole is too big, you’ll need to insert a plug.
It’s a cord coated in rubber or glue that’s inserted into the tear in the tire to help seal larger holes. It’s very simple; they usually come in a kit that includes the cords and a kind of double-pointed awl. You insert the plug between the two prongs, and then you simply push the awl with the plug attached into the puncture. When you pull the awl out, the plug will remain lodged in the puncture.
If, despite all this, you’re still losing air, you’ll have to replace the inner tube. The process is the same as fixing a flat tire, but you’ll get covered in fluid and will have to remove the valve from the rim (don’t throw it away—you’ll reuse it when they refill the fluid). And remember! Even if you ride tubeless, you should always carry a spare tube. You know Murphy’s Law—it never fails!


3. Tire levers and Allen multi-tool
If we suffer a blowout with a crack or prominent hole in the tire the thing gets a little more complicated because even if we put a new tube we would puncture as soon as we ride again. For these cases it is very useful to carry a piece of tire or plastic (something flexible) of about 8 x 2 cm. In this way we can temporarily cover the hole (putting it inside the tire). This is for “survival”, so go to the nearest place where you can put a new tire and do not try to finish the remaining 50 km of your training today with the wheel like this.
Small set of Allen wrenches and a screwdriver: Essential for any minor adjustments we might need to make along the way (saddle, brakes, cleats, etc.).
4. Quick Fix for Broken Spokes
One thing we don’t usually carry but that comes in very handy is a small piece of wire (like the kind used to close bags of sliced bread) or a small cable tie.
You can use this when you break a spoke. Secure the broken spoke to the nearest one with the wire so it doesn’t wobble, since it could get tangled and cause an accident.
With a broken spoke, you can still ride—if you’re careful. But here’s some advice: if you break a second spoke, stop, gather your courage, and call for a ride.


5. Chain breaker and quick-link
I’d also recommend bringing a chain tool, especially when riding a mountain bike. Although if you’ve never used one, it probably won’t be of any use to you. On a mountain bike, chains break more often than we think, and with this tool, we can rejoin the chain by sacrificing a link.
In this case, it’s also a matter of “getting by,” and the shifter will usually stop working properly, so set the chain where it works and try not to shift gears on your way home.
But if you want to be on the safe side, get a quick-link. With it, you can replace the broken link in just a few minutes using a chain breaker. It’s important to buy the right quick-link for your bike’s chain (this depends on the number of gears).
6. Replacement gear shifter lever
Finally, I would try to always keep the derailleur hanger for my bike model with my tools.
This is the part that’s most likely to break when the derailleur gets caught on the bike itself or on a branch or rock. It’s not an expensive part, but keep in mind that it’s different for every bike brand and model. I’ve even seen encyclopedias that look like catalogs of bike derailleur hanger!


Conclusion: Safe and self-sufficient cycling
I think that with all of the above you can go out with peace of mind and you will be self-sufficient to return home in case of small bike mishaps, without having to bother anyone to come and pick you up.